Understanding Privacy Vinyl Fence Installation Basics
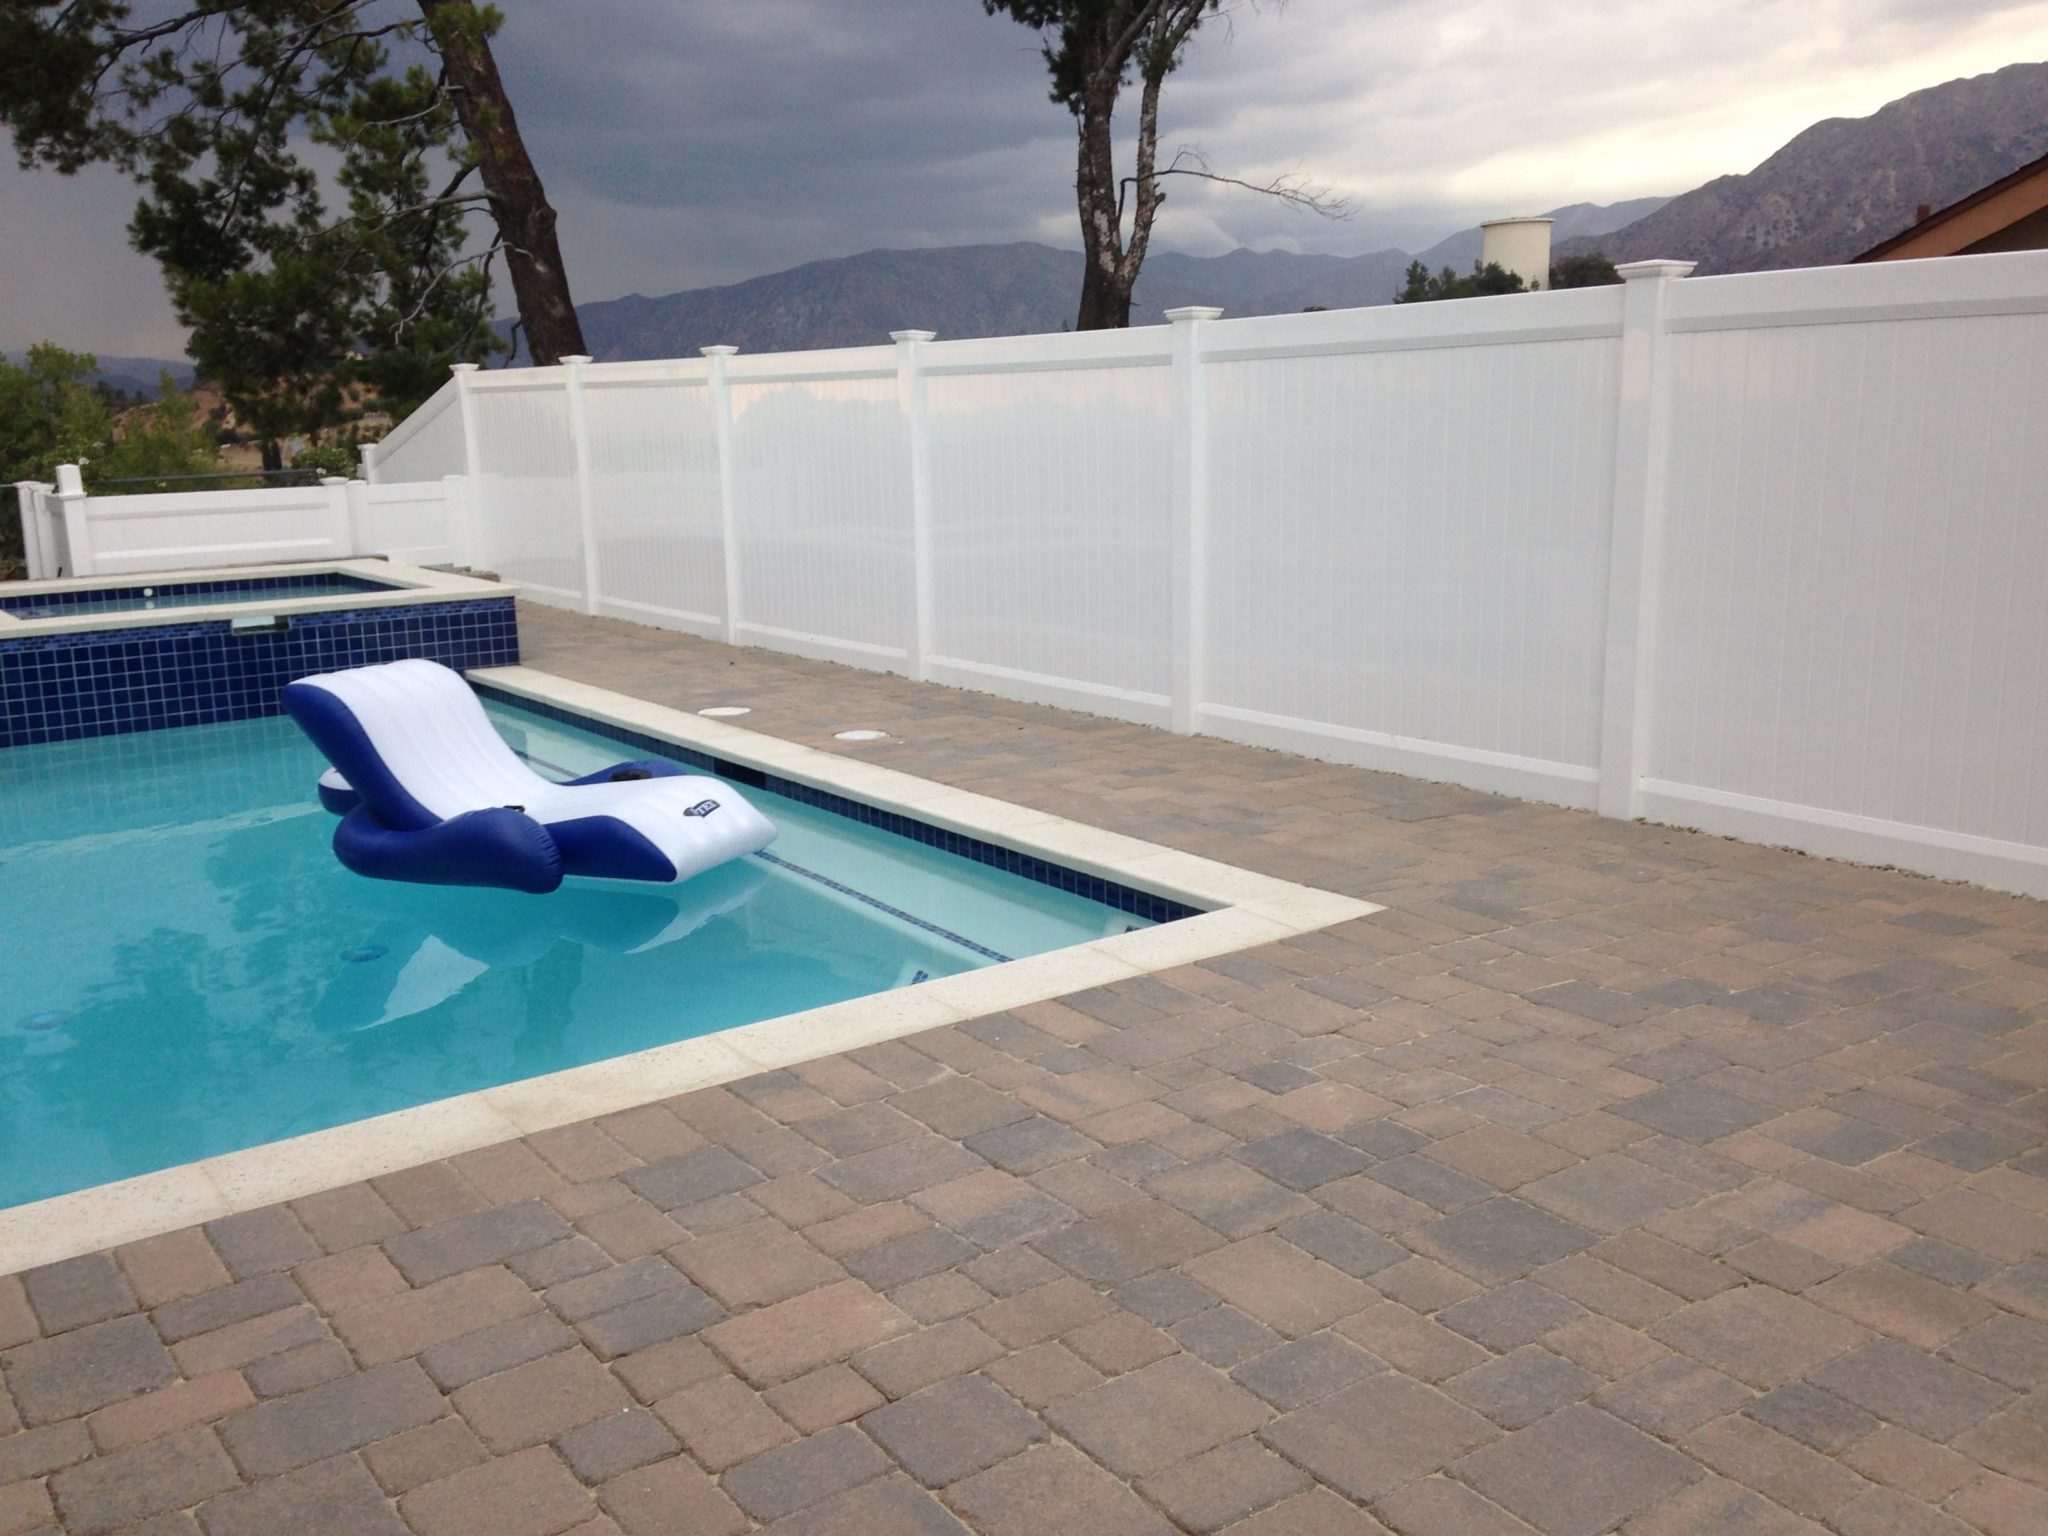
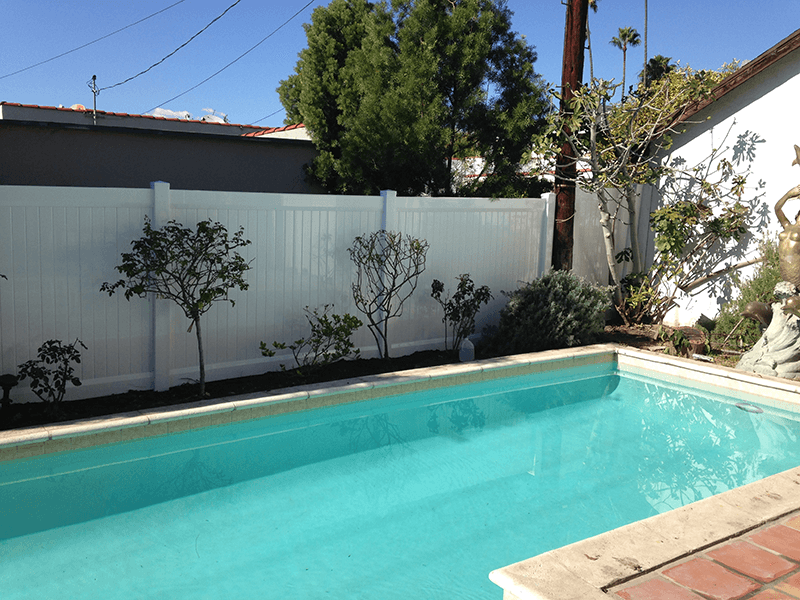
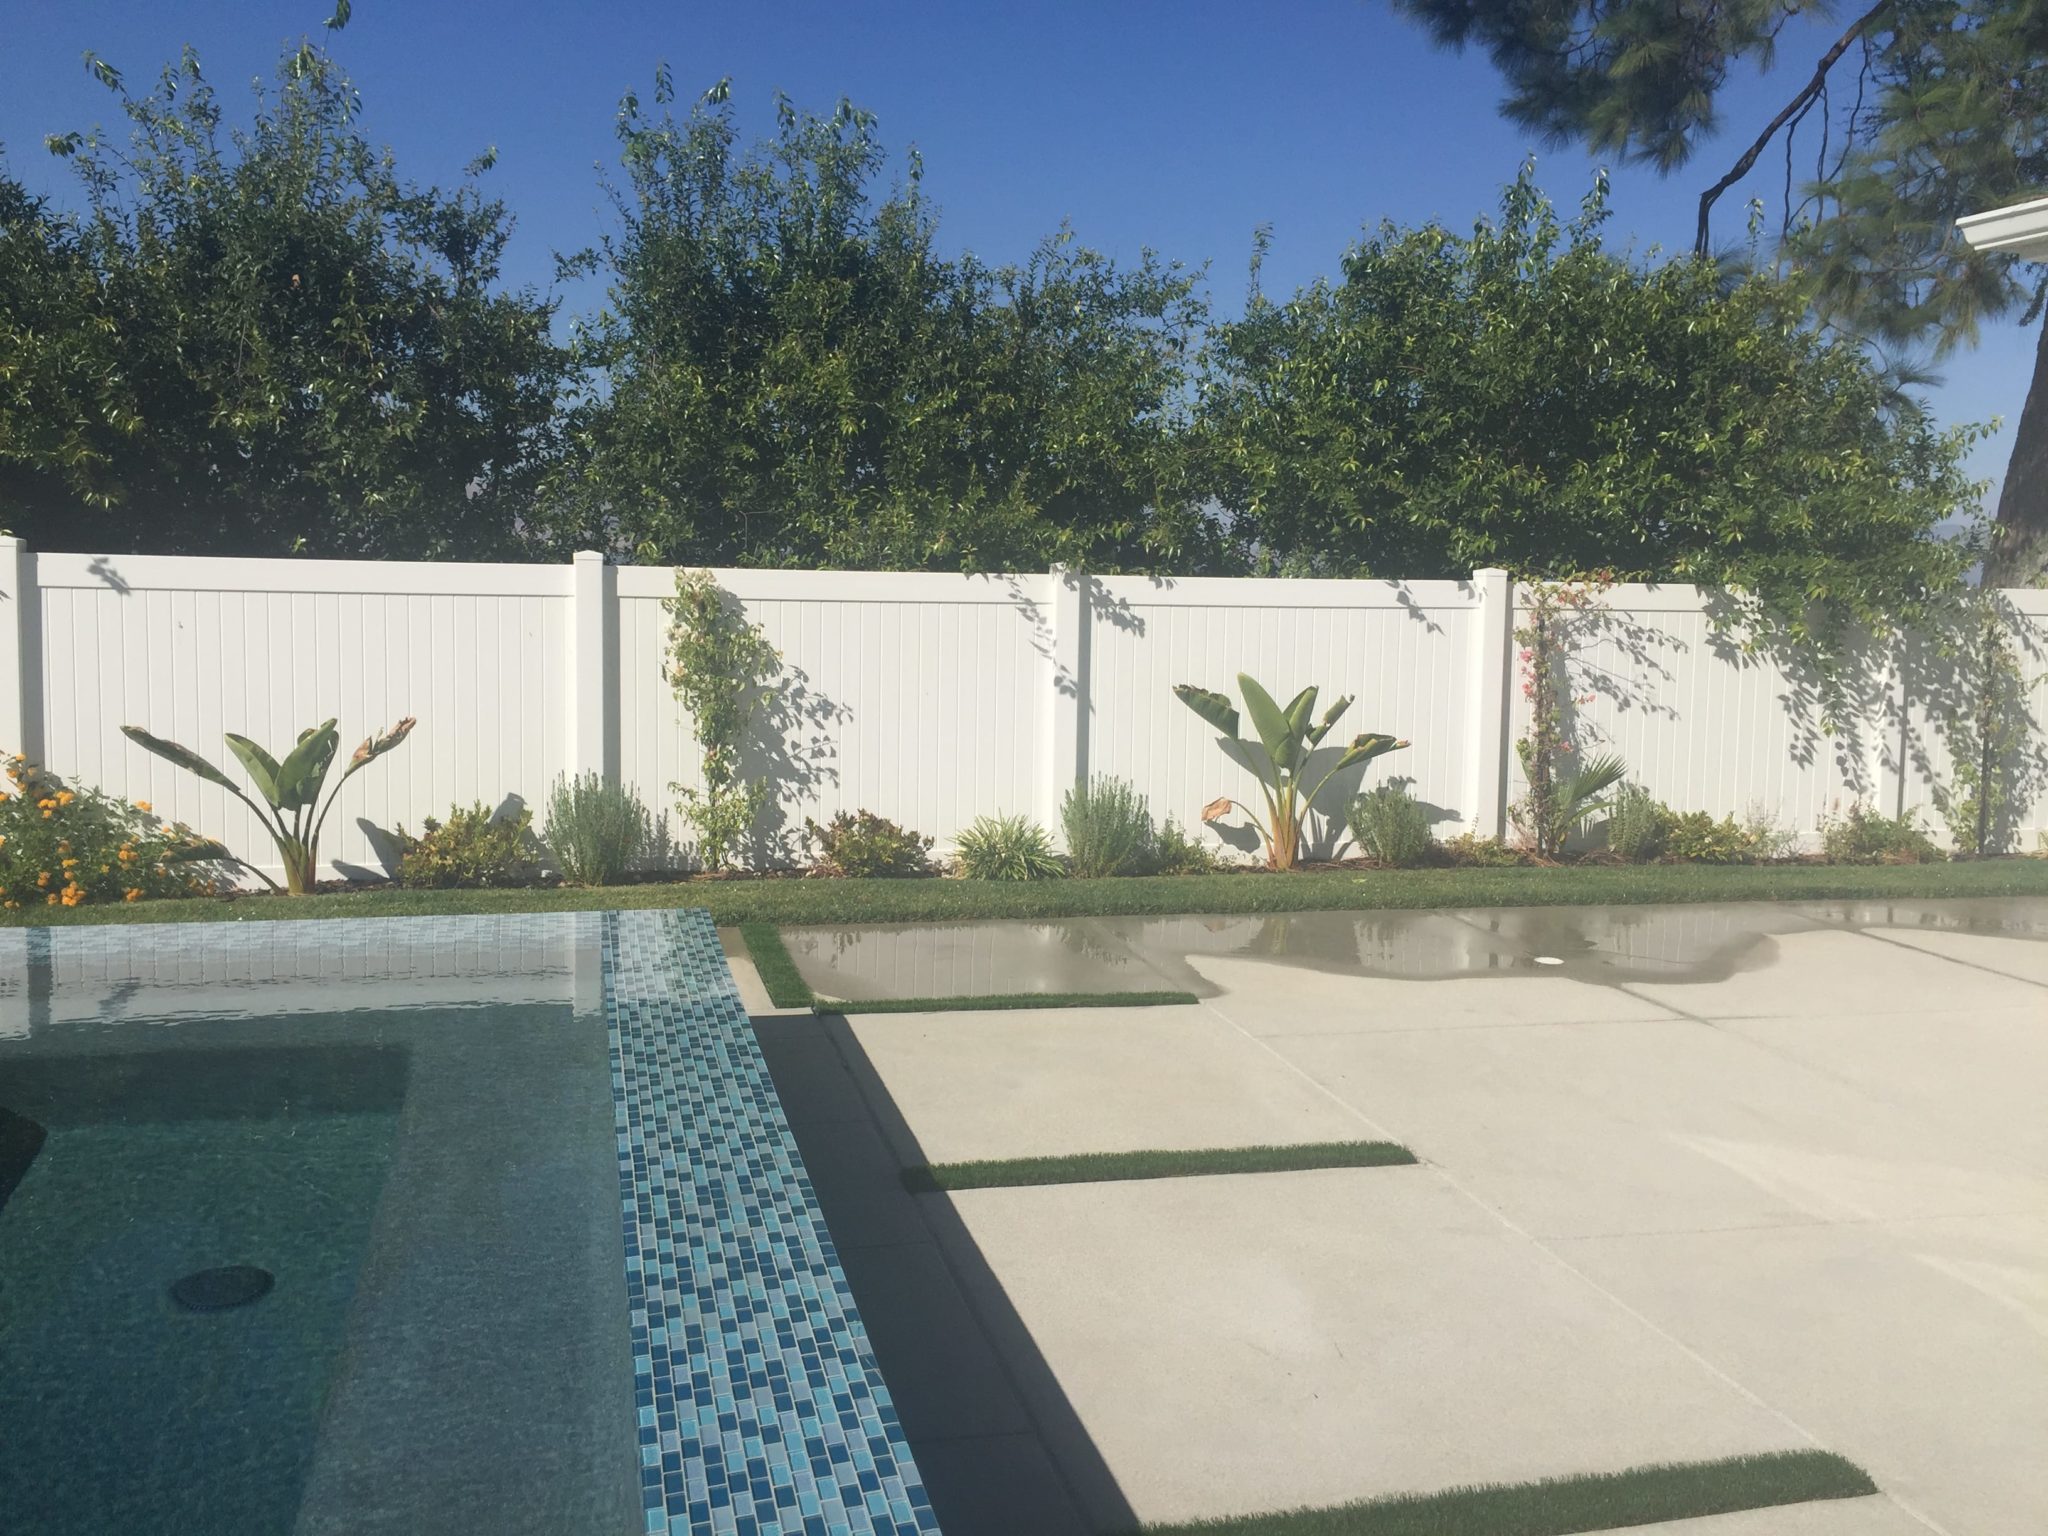
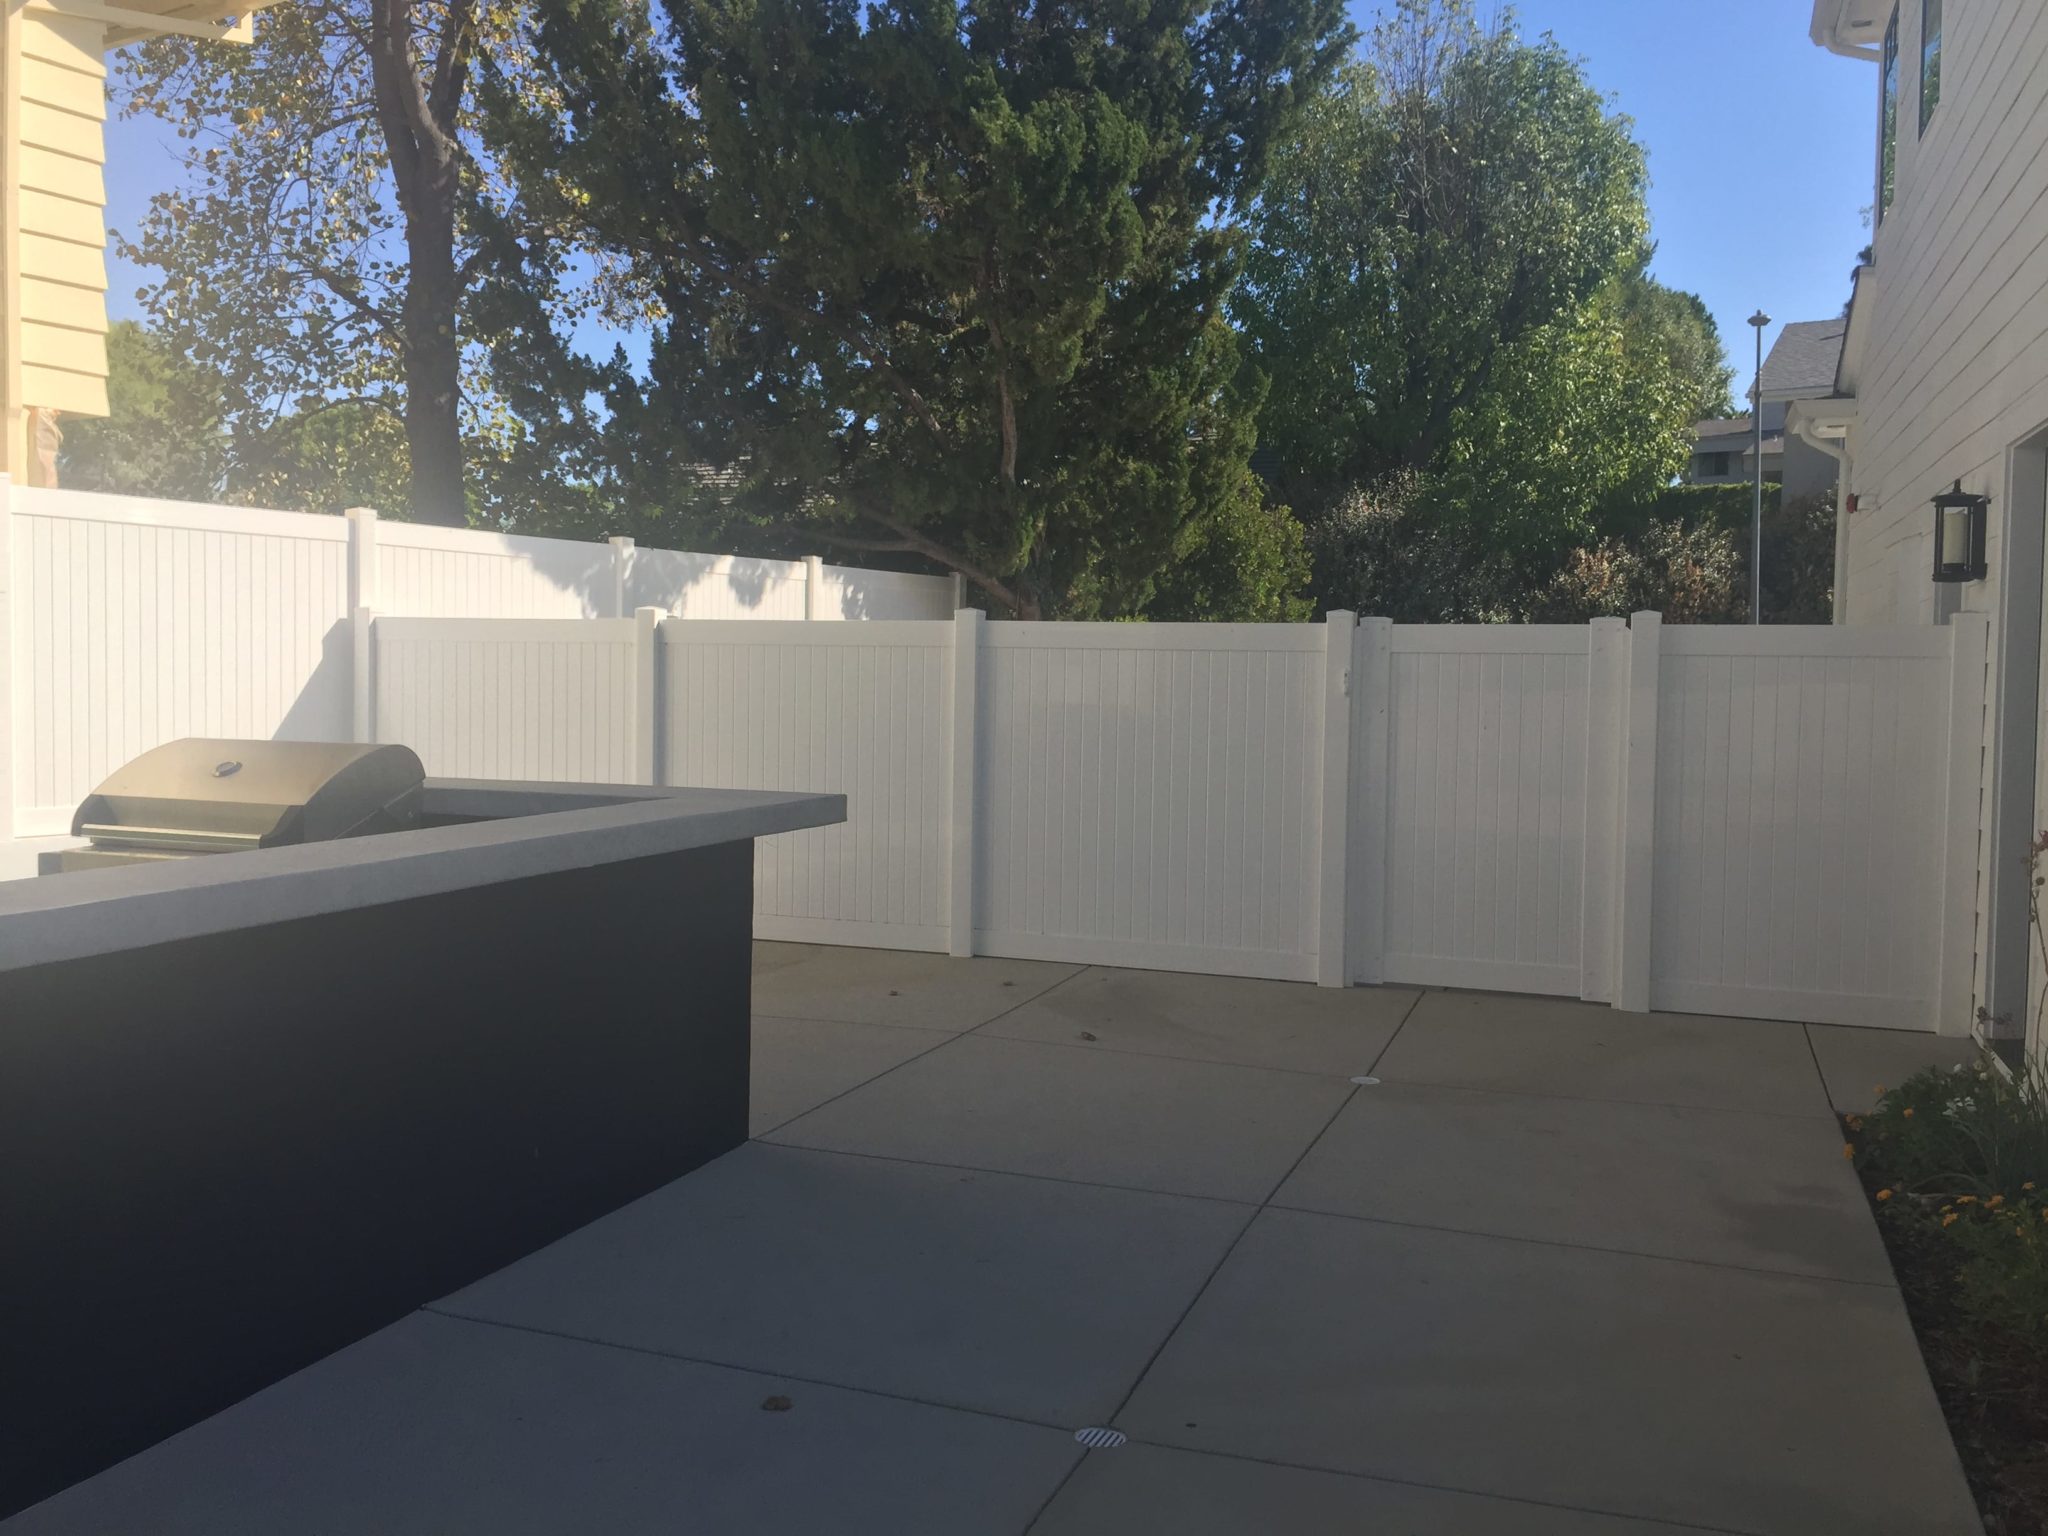
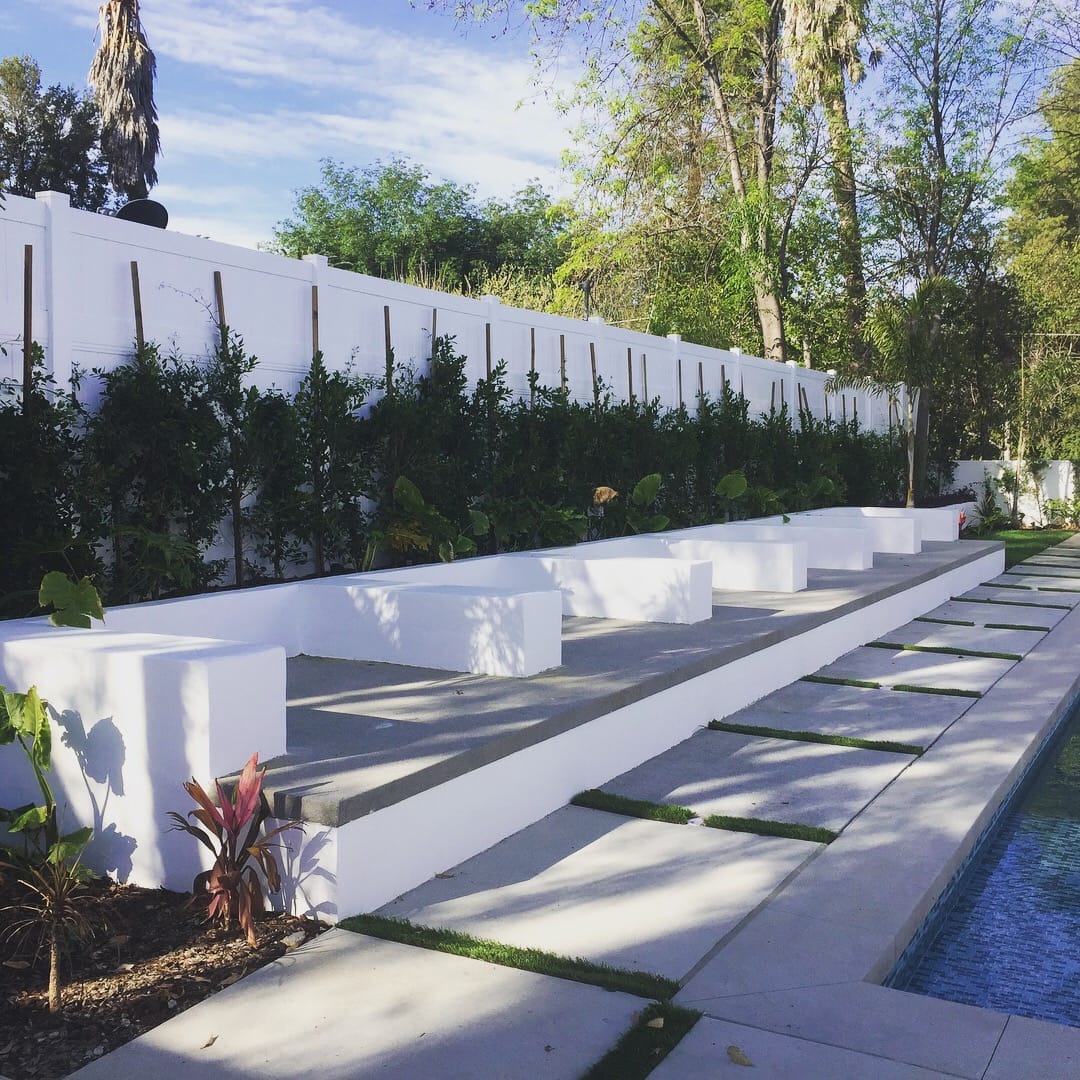
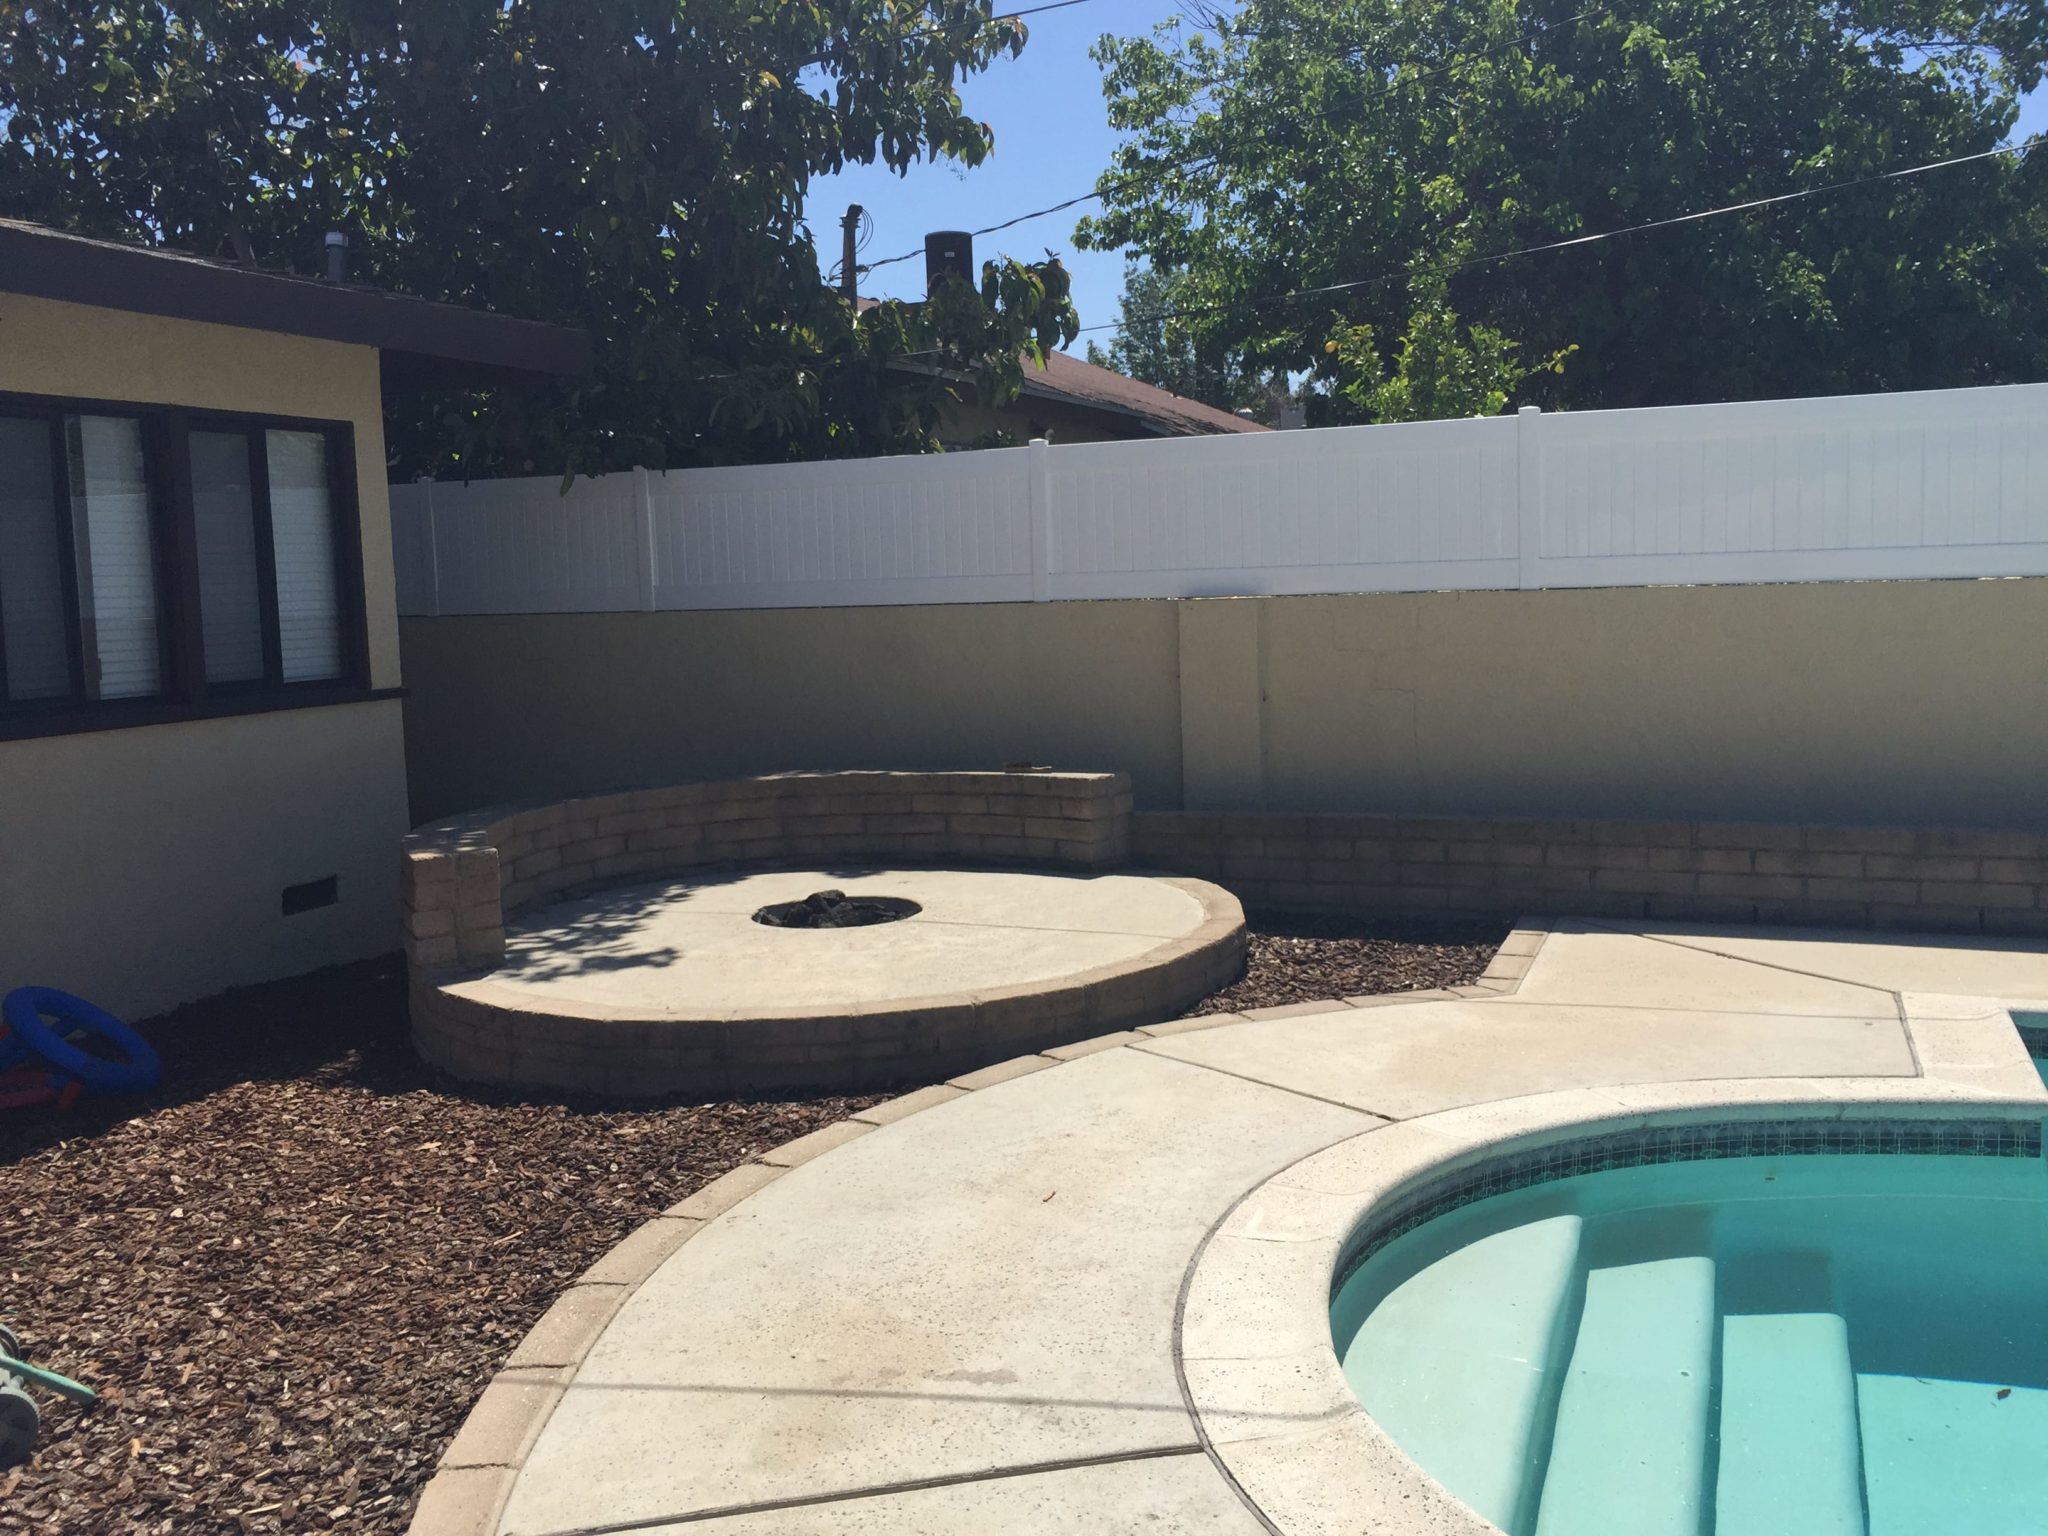
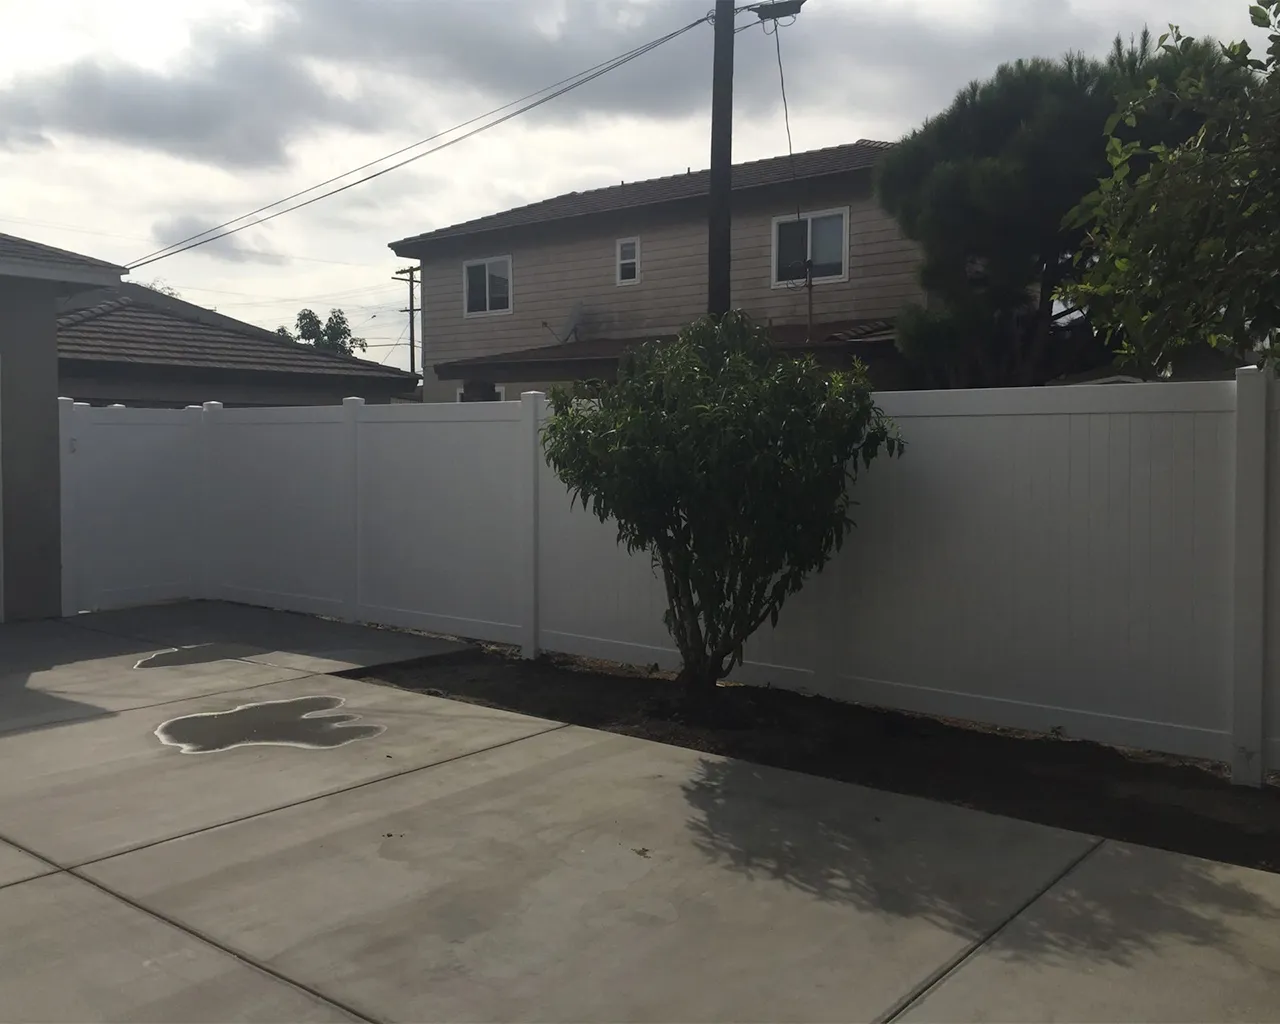
A privacy vinyl fence installation isn’t just a boundary—it’s a lifestyle enhancement. Imagine turning your open backyard into a private retreat where you can unwind without worrying about neighboring eyes or street noise. Whether you want a solid panel fence for ultimate seclusion, a sound barrier fence to reduce traffic noise, or a neighbor-friendly fence that looks great from both sides, privacy fencing is the key to creating your personal enclave.
Installing a fence is both a functional and aesthetic upgrade. Homeowners often choose this project to:
- Increase security for pets and children
- Add resale value and curb appeal
- Diminish noise pollution
- Achieve zoning compliance with clear boundary lines
Depending on complexity, DIY installations may take a few days, while professionals can often complete the same job within 1–2 days. The upfront investment is balanced by long-term durability, especially with vinyl privacy fences, which resist warping, rot, and weather damage far better than wood.
Key Components of Privacy Fence Systems
Understanding a privacy fence’s parts helps you appreciate its design and longevity:
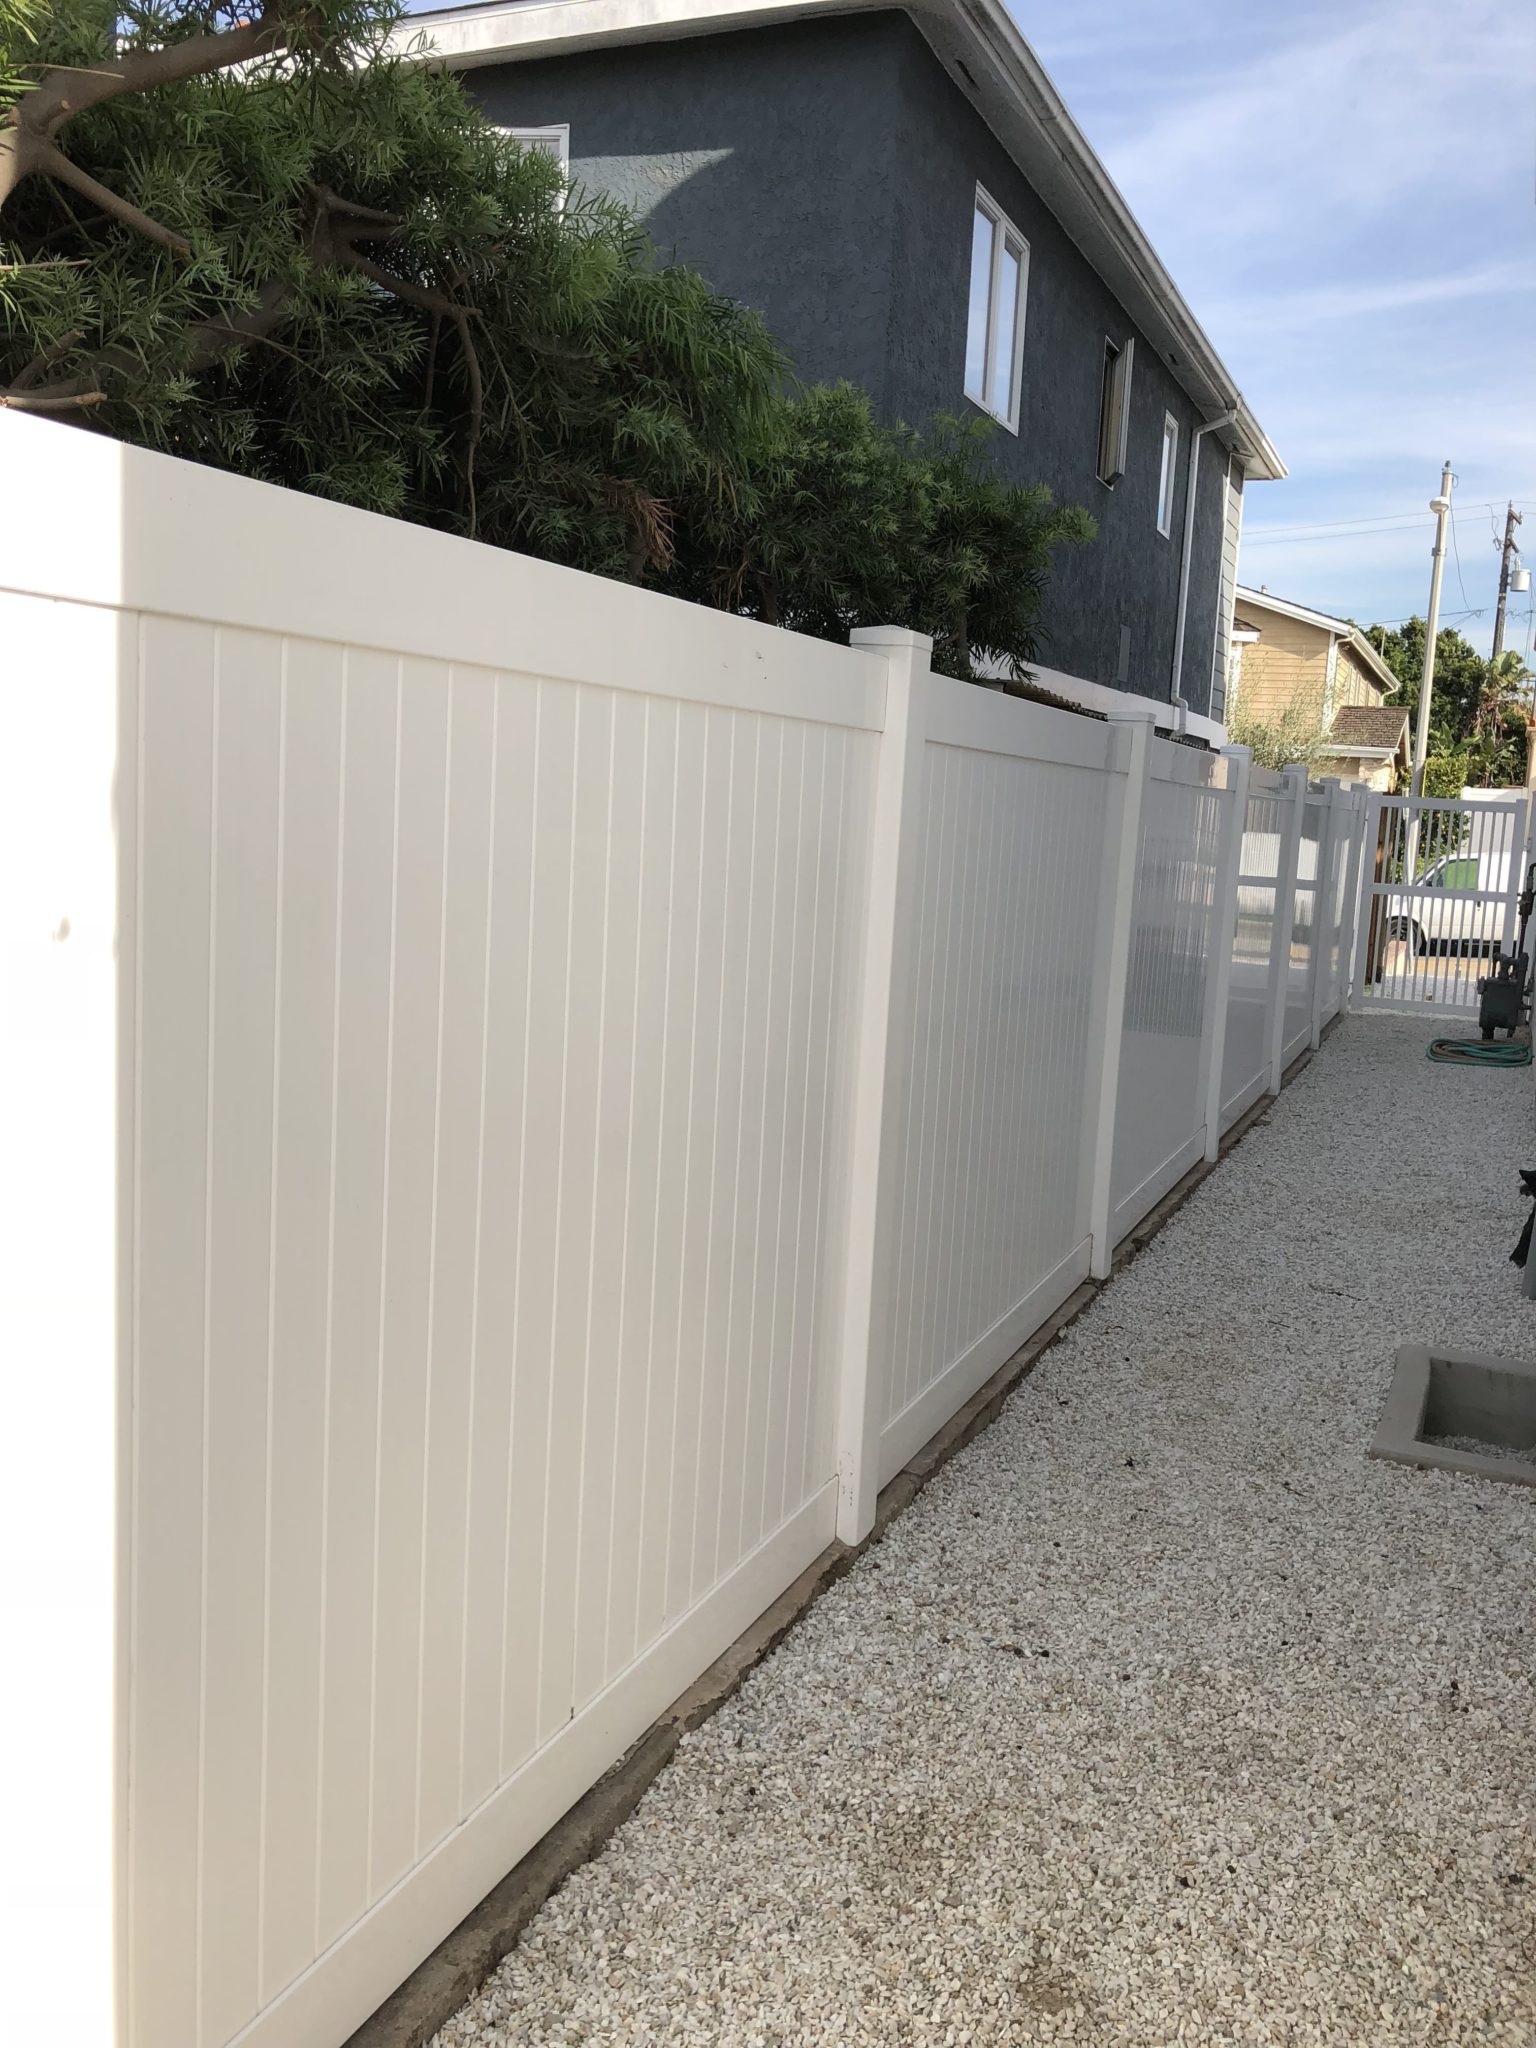
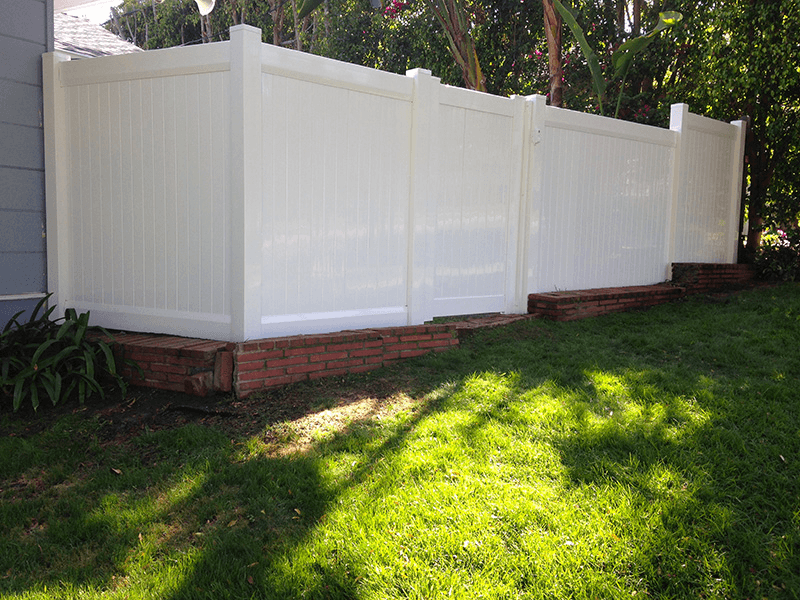
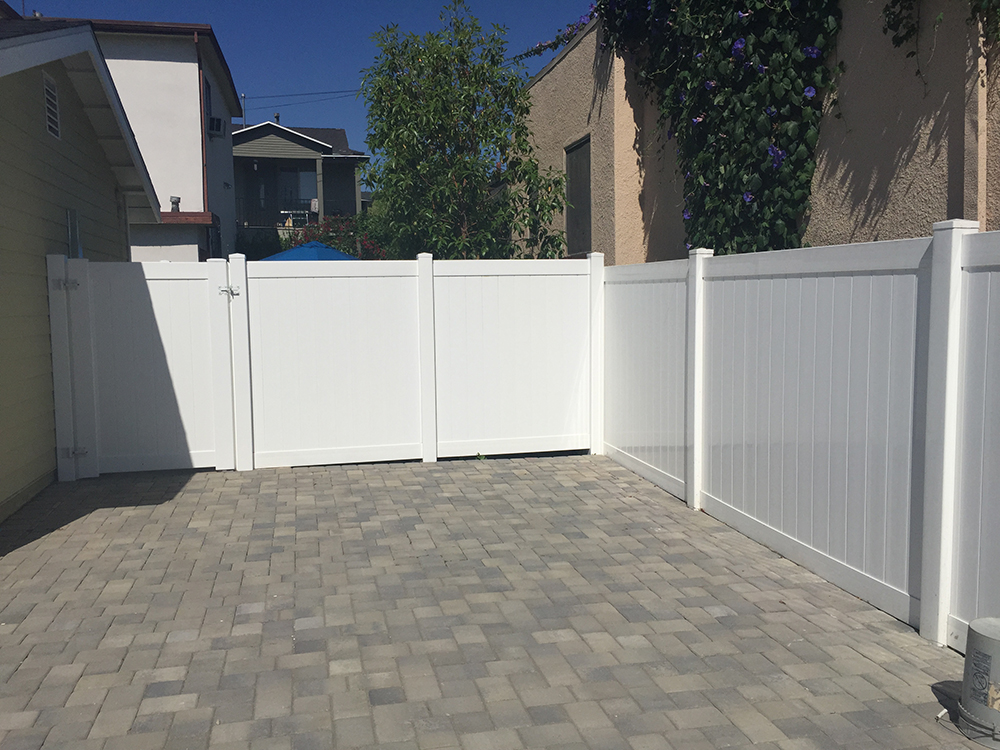
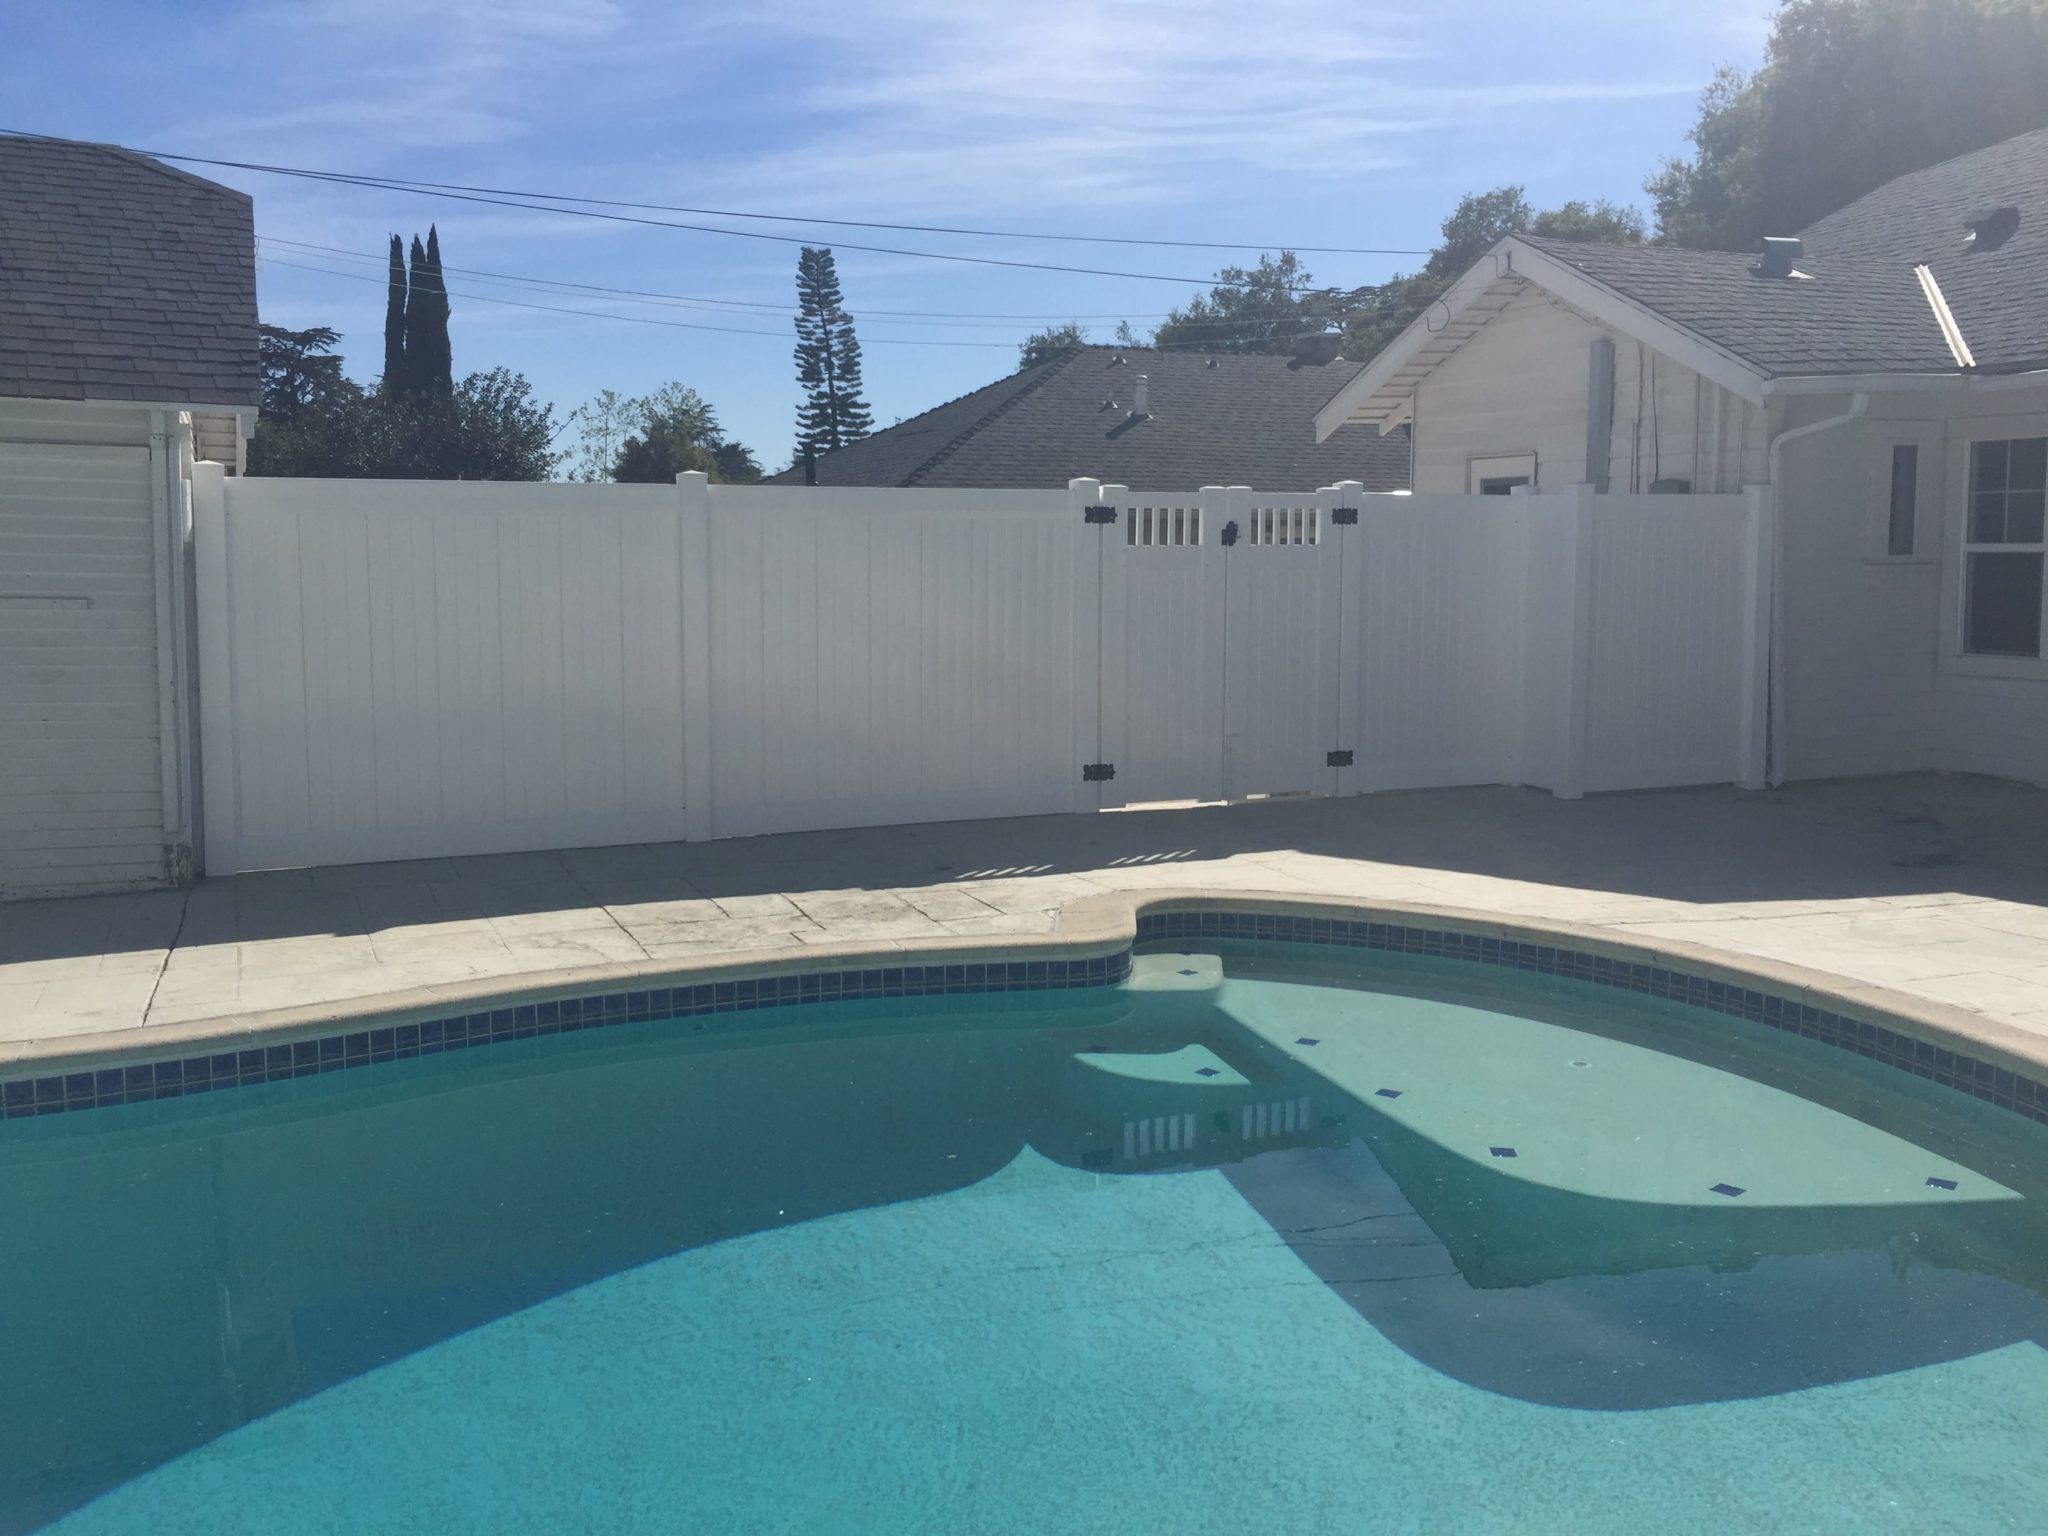
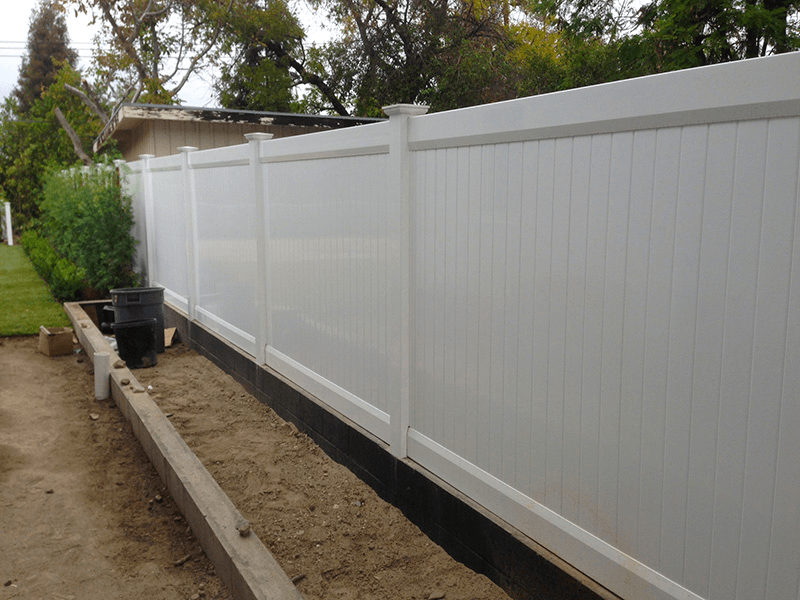
- Posts: The structural backbone, typically installed every 6–8 feet.
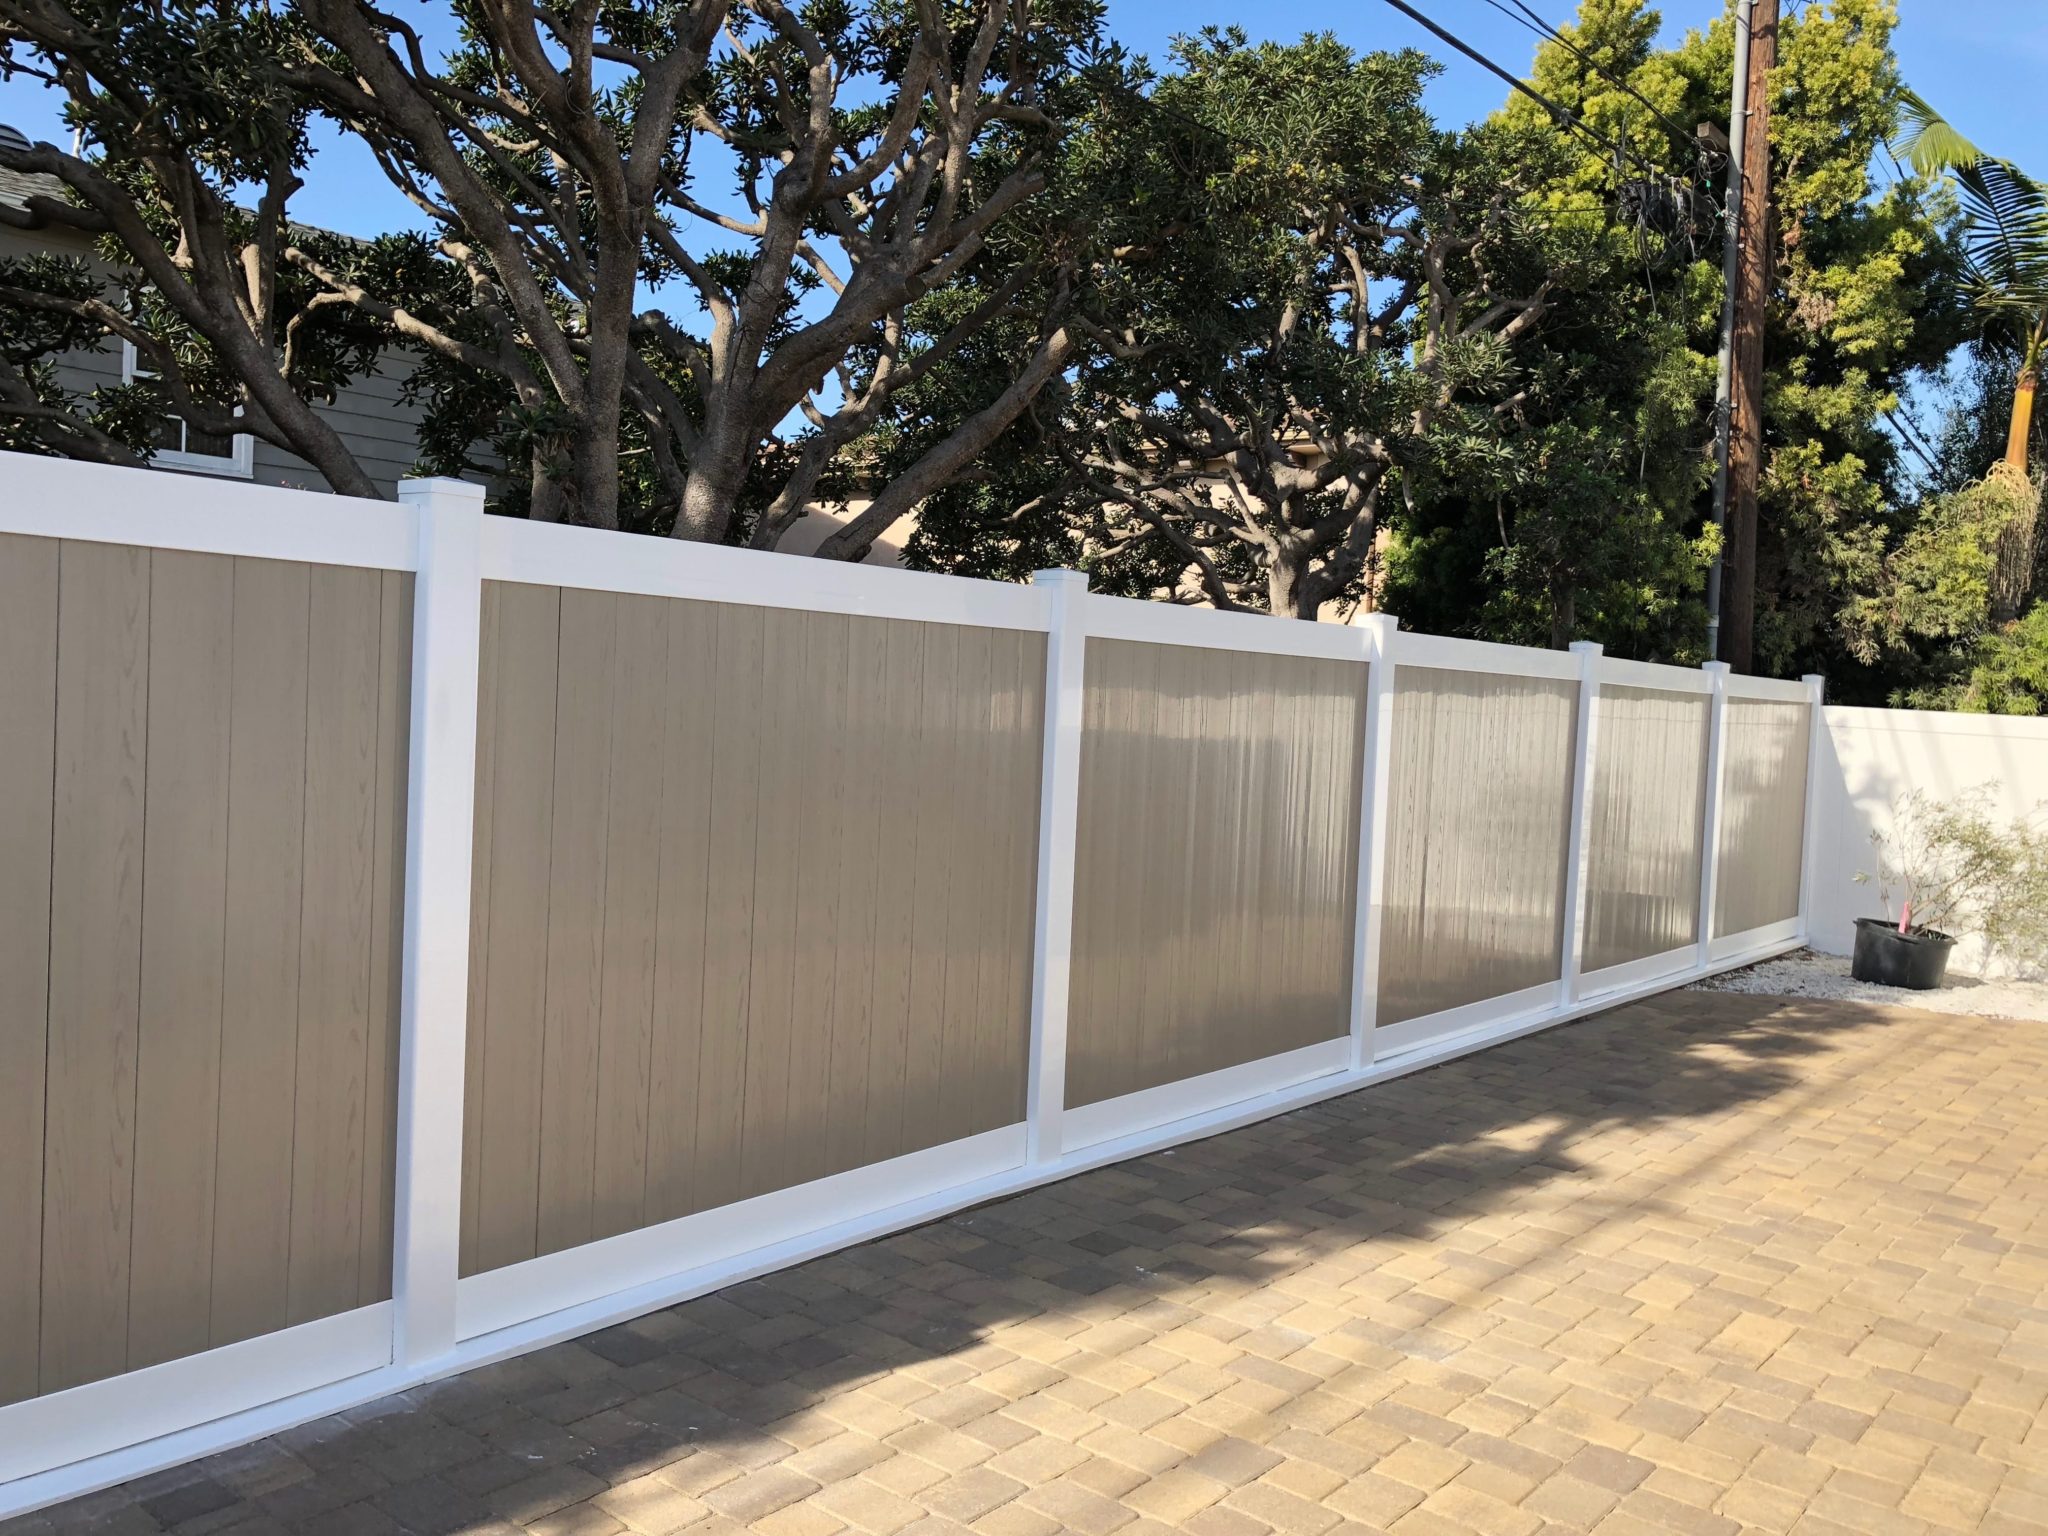
- Rails and Panels: Interlocking vinyl privacy panels or boards form the solid barrier.
- Gates: Customizable entries with secure latches and decorative accents.
- Trim and Caps: Add aesthetic polish and protect post interiors from moisture.
- Sound Barrier Features: Some solid vinyl fences can reduce noise by up to 30%, making them ideal for properties near busy roads.
Each component contributes to strength, appearance, and ease of installation—especially when pre-fabricated vinyl systems are used.
Material Options Comparison
| Material | Durability | Maintenance | Cost (per linear foot)* | Aesthetic Variety | Eco Impact |
|---|---|---|---|---|---|
| Vinyl | 25–30 years | Very low | $25–$45 | Wide range of colors | Recyclable options available |
| Wood | 10–15 years | High | $20–$35 | Natural appeal | Can require chemical sealants |
| Composite | 20–25 years | Low | $30–$50 | Premium finishes | Sustainable but costlier |
*Pricing varies by region and design specifications.
Vinyl wins on durability, value, and style—plus, it’s resistant to insects, rot, and fading, making it ideal for private yard fencing that lasts.
Why Choose Vinyl for Your Privacy Fence
Choosing vinyl means choosing longevity, style consistency, and low maintenance. Modern vinyl privacy fencing mimics real wood textures and comes in a spectrum of neutral and bold colors. It never needs staining or repainting, and cleaning is as simple as a quick rinse.
Vinyl’s benefits include:
- Weatherproof construction: Unaffected by humidity, rain, or UV rays.
- Fade-resistant finishes: Maintains its color for decades.
- Flexible design: Compatible with privacy screens, lattice toppers, or decorative posts.
- Long-term savings: Lower upkeep equals lower total ownership cost.
For homeowners who care about both aesthetics and practicality, vinyl remains the go-to outdoor privacy solution.
Pre-Installation Planning and Preparation
Proper preparation ensures a smooth installation. Before digging, follow these steps:
- Define the layout: Mark your property boundaries accurately using stakes and string.
- Review regulations: Check fence height regulations and community guidelines to avoid penalties.
- Call utilities: Always confirm underground lines before post-hole digging.
- Order materials: Include posts, panels, gates, cement, and necessary tools.
- Check slope & drainage: Ensure that your design accommodates uneven terrain.
A clear plan saves time and prevents costly mistakes.
DIY Privacy Fence Installation: Step-by-Step Guide
If you’re a confident DIYer, your vinyl privacy fence installation may look like this:
Measure and Mark
Outline your project area carefully and calculate material quantities.
Dig Post Holes
Use a power auger or manual digger to create holes—typically 8–12 inches wide and 24–30 inches deep, depending on frost line and local codes.
Set Posts
Pour concrete and level each post. Allow 24 hours for curing.
Attach Panels and Rails
Slide solid vinyl panels into position per manufacturer guidelines. Ensure alignment remains level throughout.
Install Gates and Finishing Touches
Secure gate hinges and locks. Snap on post caps for a polished look.
Inspect & Clean
Double-check straightness, spacing, and stability. Rinse with water to remove installation residue.
Professional Installation vs. DIY
While DIY appeals to budget-conscious homeowners, professional privacy fence installers bring distinct benefits:
| Aspect | DIY | Professional |
|---|---|---|
| Cost | Lower upfront | Higher labor fees |
| Skill Required | Moderate to high | N/A (full-service) |
| Time | Multi-day project | 1–2 days typical |
| Quality & Warranty | Self-managed | Labor & material warranties |
If precision, time, and guaranteed results matter most, professional installation is worth the investment. Local experts can assist with permit acquisition, ground evaluation, and custom vinyl privacy designs.